


How To Streamline Your Lightroom Workflow, for Destination Wedding Photographers


As a photographer, you use Lightroom on the daily to edit your clients’ photos to *chef’s kiss* perfection. What’s not to love about it, where you can use a variety of the best Lightroom presets (including our Italian master-inspired presets), tweak the exposure and light balance on your photo, batch edit, undo changes indefinitely, and so much more!
But even if you’ve been using the program for months or years, you may still struggle to create a Lightroom workflow that not only saves you time but also helps you come away with the best possible client galleries. (You know. The kind that are so signature that your dream clients can’t help but sign up to work with you.)
Keep reading for our step-by-step guide to streamlining your Lightroom workflow so you can get your edits done and go back to traveling the world in style (or just go back to relaxing on the couch!).
Steal Our 7-Step Streamlined Lightroom Workflow to Make Editing Easier Than Ever
Depending on how you feel about editing (whether you love applying changes that elevate each photo or drag your feet over anything that’s not photographing clients– we get it!), Lightroom is an inevitable part of being a photographer. Trust us. It doesn’t have to be difficult to get your edits done in a timely manner. And you don’t have to stress for hours or days over a single gallery.
Over the years, we’ve photographed weddings worldwide for our fun but discerning clients. And all of that experience has guided our signature Lightroom workflow that we use for every client gallery. Now, we’re sharing our exclusive process with you!
Step 1: Back up all photos before editing in Lightroom.
Before you open up Lightroom and take on editing, backup all your photos first. If your edits don’t turn out as you’d like them to or a tech glitch sends your gallery to the trash bin (believe us, it’s happened before), the last thing you want is to come back to your client empty-handed after the most meaningful day of their lives. (We cringe just thinking about it.)
To keep our photos safe, we use two 2TB SSD drives for traveling, Sandisk SSD Extreme Pro, and GDrive to back up photos in multiple places. So even if physical storage gets lost or cloud storage falls through, we always know our clients’ images are totally secure.
We say this from experience. You can never be too safe. One time when we were in L.A., we had our equipment stolen from our car right after a client’s wedding. Luckily, we had a portable drive with us. That meant all of our client’s photos weren’t lost.
Even if you don’t do anything else on this list, backing up your photos is the one thing you don’t ever want to skip. You will thank us later!
Step 2: Create a new catalog in Lightroom to import your photos.
To kick off your Lightroom workflow, create a new catalog first. When you edit photos, a catalog will keep all of your photos and their accompanying data (like location and time stamps) in one place. Folders, on the other hand, are where your image files actually live outside the program. That’s usually on your computer or an external hard drive.
Creating a catalog ensures that the actual files from your camera are not changed. Whatever edits you apply in Lightroom can be overlaid over the entirety of your gallery if that’s something you choose to do. The two perks of this approach are:
1) Your photos can be stored anywhere.
2) Your edits don’t affect the RAW files.
For more best practices for using catalogs in Lightroom, check out Adobe’s guide here.
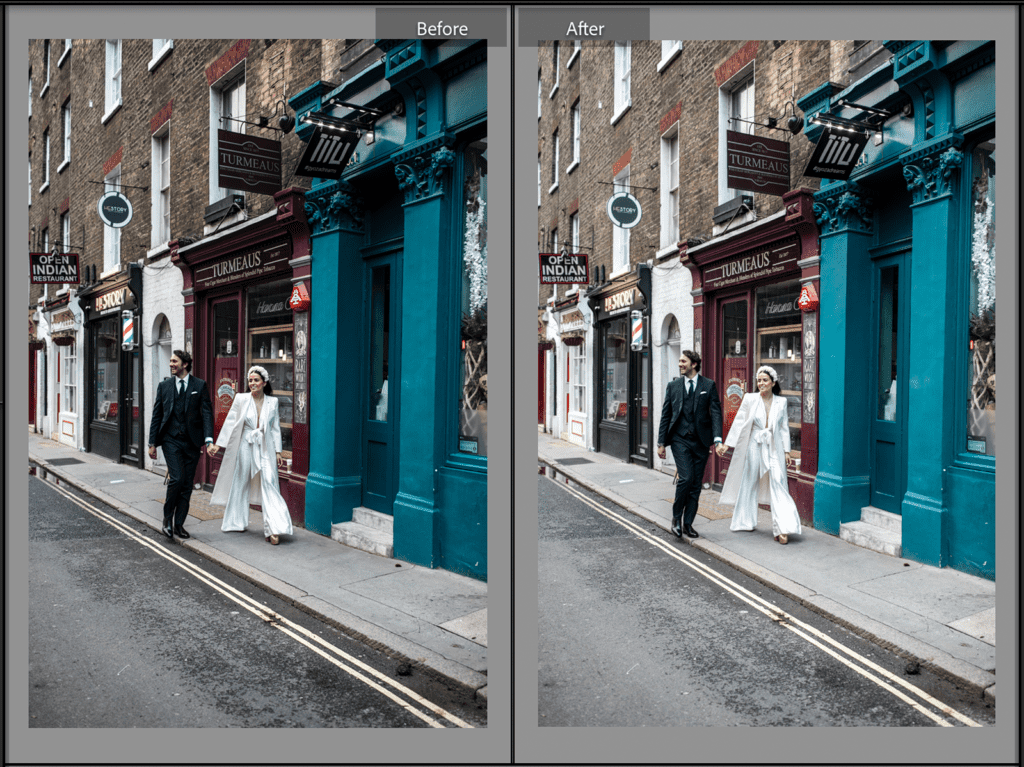
Step 3: Apply your preset
As you may know already, presets are predefined editing settings that you can use over and over again across your galleries. Many photographers use presets to speed up their editing process. Plus, the presets apply a consistent style across all client galleries. You can always create your own. Or you can snag our presets! They are a great place to start if you’re struggling to create a consistent style or simply love the idea of cultivating a more editorial style like ours!
Applying your preset is easy. First, find the section on the left side of the screen labeled ‘presets.’ Click the toggle to see what you have saved. From there, simply choose one of your presets.
If you don’t already have presets saved, use the import dialog under file > import profiles & presets to add them.
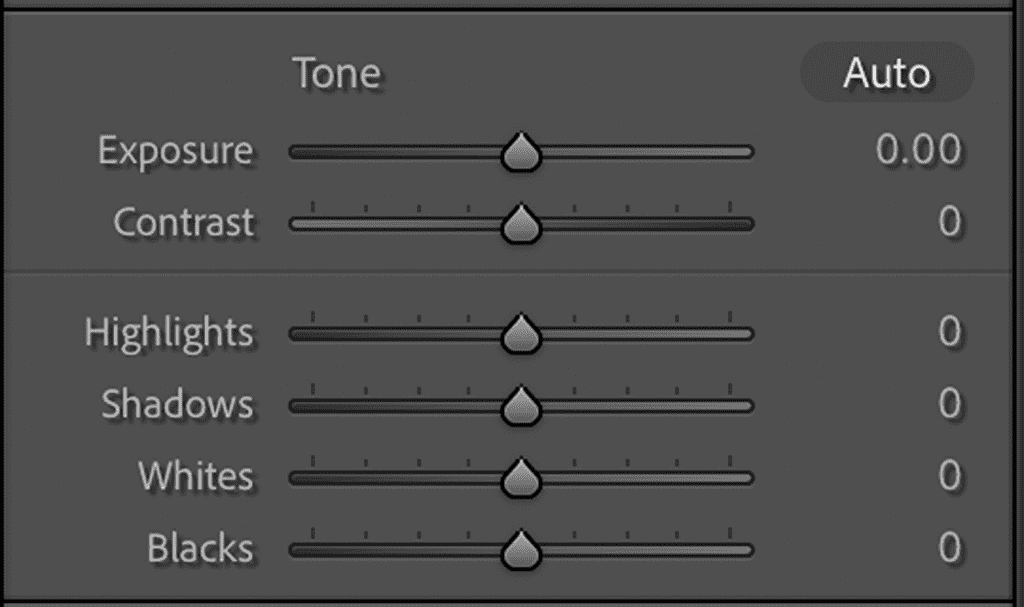
Step 4: Start with basic edits, like exposure and white balance.
Now that your preset is loaded in and your overall style is established, we can get to work on the smaller details of the photo. Start by finding the exposure setting on the right side under the ‘basic’ toggle in develop mode.
Using exposure settings allow you to control the amount of light in the photo. White balance settings, which you’ll find directly above exposure, ensure that your photos aren’t too washed out, pixelated, or colorized.
Step 5: Incorporate lens corrections, crop, and transform.
While some photographers would save their photos and call it a day, we go one step further with lens corrections. These go the extra mile to fix any abnormalities that may have been on your lens. You’ll fix small things like a fleck of dust that you didn’t notice while taking the photo.
You can also list the make and model of your camera to also account for lens corrections specific to your camera. This comes in handy, particularly with wide-angle lenses. Those create fish-eye effects or natural vignetting.
Next, you’ll want to use the transform settings to straighten your photo. Then crop your photo to create a better composition. Cropping your photo may seem obvious or even something you’d want to skip. But it’s a great way to make sure your subject is the focal point of the photo. We always use the rule of thirds to guide the composition. Meanwhile, we use transform to straighten out odd issues with perspective, which is useful when it comes to architectural lines.
Bonus tip: tilt your photo to make sure the horizon is straightened for a cohesive and polished finished product.


Step 6: Use brushes to make adjustments
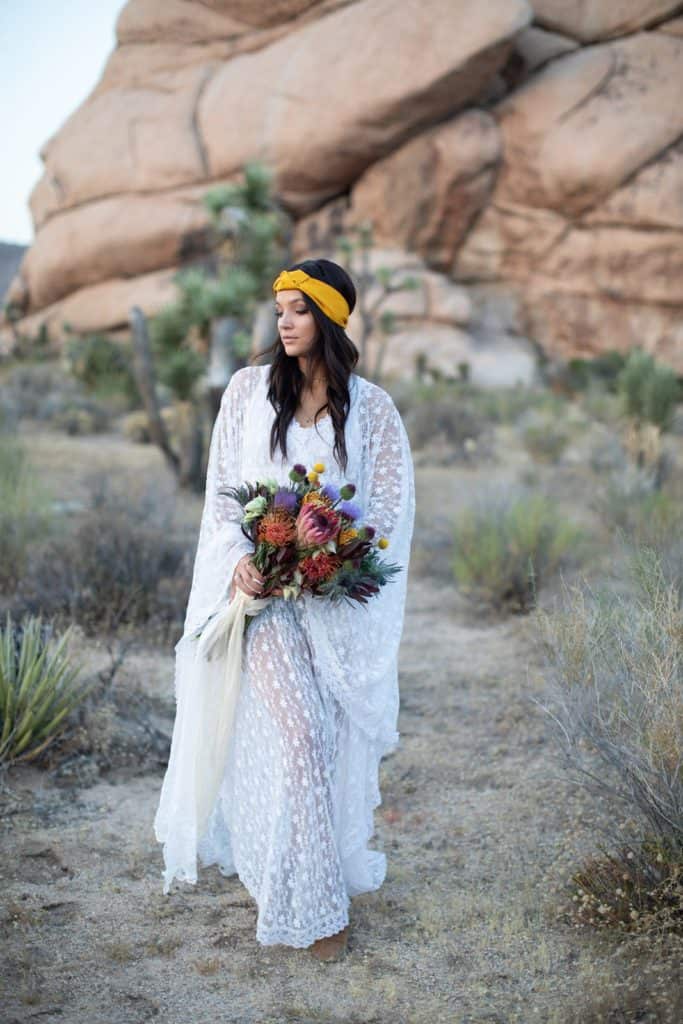
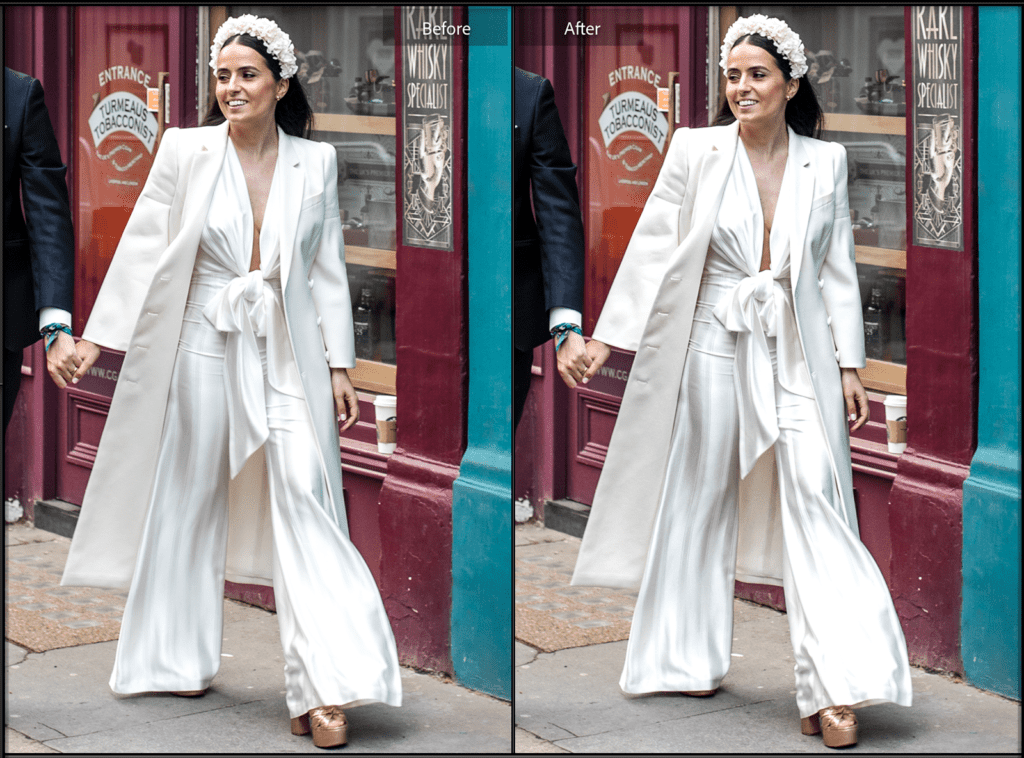
The last step in our Lightroom workflow is making specific adjustments to remove distracting objects. Our favorites are the clone/heal tool to remove objects, burn/dodge to affect exposure on certain parts of the photo, and skin smoother to erase minor blemishes. We also love something we call ‘pop the dress.’ It’s a signature brush we use to make the dress details shine and bring out greater depth. We include this brush in our preset pack!
Step 7: Export your photos.
Once your gallery is done, it’s time to export your photos by first adding keywords and metadata to your images. You can do this thanks to the catalog you saved your images to at the beginning of the workflow! Then, save and send to your client.

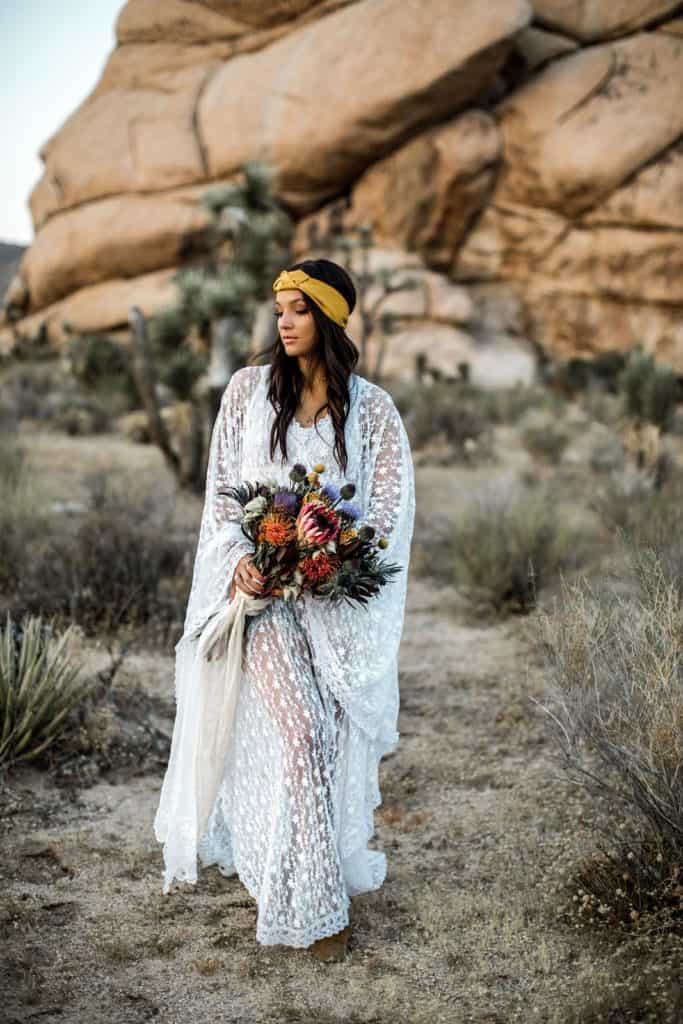
Want even more tips to streamline your Lightroom workflow so your photos can look like the one above? Download our complete editing checklist for a step-by-step how-to for Lightroom classic.


